
By Wendy Liang, UC Davis Nutrition Peer Counselor
You may have heard the phrase “antioxidants prevent cancer” or may have even seen wellness trends on social media hyping up antioxidant consumption.
So what is all this obsession with antioxidants? Should you be concerned about your antioxidant intake?
What are Antioxidants?
- Chemical molecules that reduce cell damage
Antioxidants are chemical molecules that help reduce cell damage by ridding the body of free radicals. Free radicals are unstable molecules that can be generated by the body from turning food into energy or from other exposures like exercise, smoking cigarettes, air pollution, and sunlight. High amounts of these free radicals in the body can harm the body as they cause oxidative stress and damage cells and DNA, which can contribute to serious illnesses like cancer.
Health Benefits
- Neutralize free radicals
Antioxidants neutralize free radicals by giving up some of their electrons which stops the chain reaction of free radicals causing oxidative damage. Some examples of antioxidants are vitamins E and C and carotenoids. There have been studies on free radical damage linked to chronic illnesses and some studies on antioxidant consumption decreasing risk of severe diseases like stroke, other cardiovascular diseases, and diseases like Alzheimer’s.
Foods That Contain Antioxidants
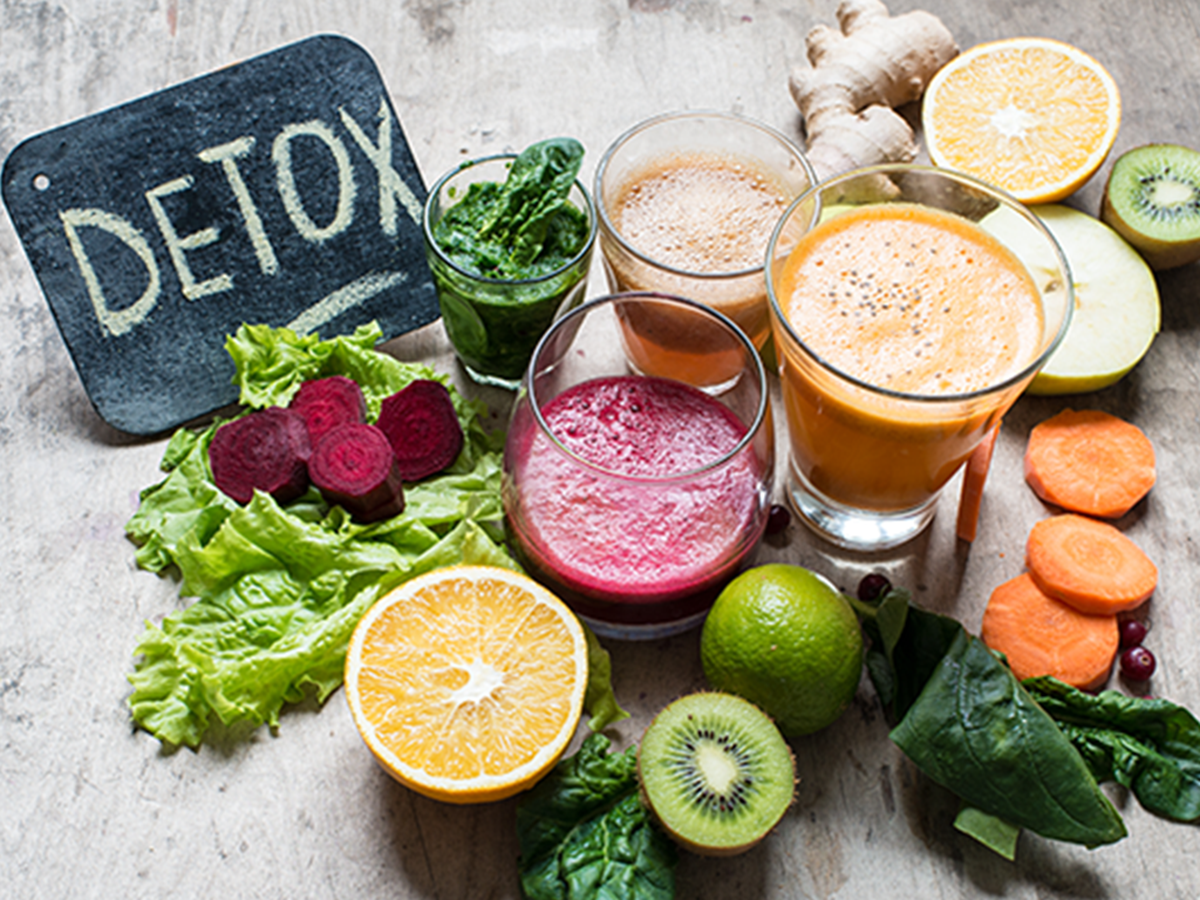
Even though our body already has some antioxidants to balance free radicals, antioxidants can also be found in colorful foods like berries, other fruits, vegetables, and other plant-based foods (like legumes).
- Blueberries contain the antioxidant anthocyanin, which helps with lowering LDL cholesterol levels and blood pressure and has been found to have a correlation with delaying the decline of brain function (Giacolone et.al, 2011).
- Spinach is a vegetable that contains antioxidants, lutein, and zeaxanthin, which are correlated with protecting the eye against UV damage (Abdel-Aal et.al, 2013).
- Other foods that are great sources of antioxidants include Beets, Raspberries, Strawberries, Dark chocolate, Beans, Red cabbage, and Kale.
Should We Supplement?
- Not Recommended
Since antioxidants are abundant in whole foods and various National Institutes of Health (NIH) studies done on antioxidant supplementation reveal positive relations to chronic disease and illnesses, the NIH does not recommend antioxidant supplementation.
Not only have high doses of antioxidants been found to increase the risk of death (Bjelakovic et.al, 2004), our body requires a balance of free radicals and antioxidants since our immune cells use free radicals to combat infections (Hamption et.al, 1998).
So What Then?
- Consuming whole foods like fruits and vegetables can increase antioxidants and provide other essential nutrients like vitamins and minerals.
High levels of free radicals can cause harmful damage to our body, but free radicals can be controlled by antioxidants. However, high amounts of antioxidants via supplement have been shown through randomized control trials to show more negative effects on health than positive effects. These studies may also have limitations that we need to keep in mind. Simultaneously, there is much evidence that suggests the consumption of whole foods like fruits, vegetables, and whole grains are not only great sources of antioxidants, but also provide other nutrients like dietary fiber, vitamins, and minerals that are highly beneficial to our bodies.
Here is more information on antioxidants, myths, and antioxidant supplements, TIME.com and Healthline.com.